
Quite a common task in Power Apps is to create a menu. You might already have figured out that a menu is easily created using a Gallery. Remember my recent post about galleries? Today I’m looking at some more advanced techniques related to navigation options within Power Apps.
Modern controls
Although this post is focussed on the creating a navigation with either classic buttons or modern button controls. You might also want to consider using modern Toolbar control.
Back to Classic controls
First of all, I’m going to assume that you want to navigate to a screen every time someone clicks on a menu option. Also each menu option has a display text that you want to appear on your screen in a separate section of the menu.
Your menu could look something like this:
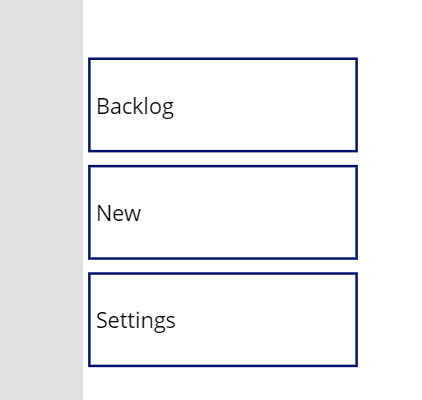
I’ve now created a Gallery and I set the Items property to:
[{Display: "Backlog", Screen: ScreenBacklog}, {Display: "New", Screen: ScreenNew}, {Display: "Settings", Screen: ScreenSetting}]
Note that I’ve got a collection of display texts and screens in my PowerApp.
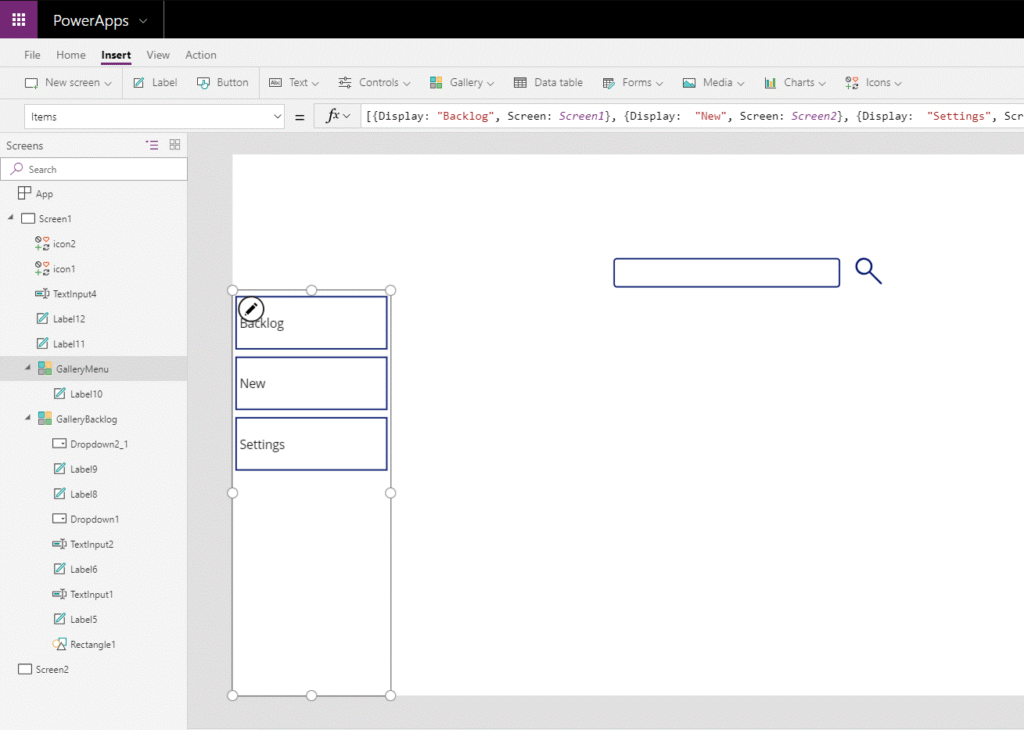
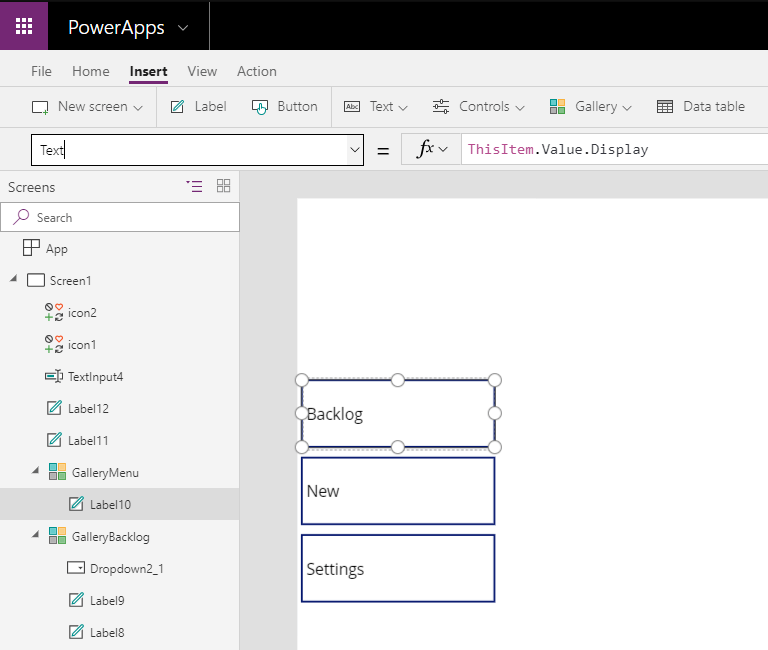
Within each menu option I’m displaying my display texts with ThisItem.Value.Display
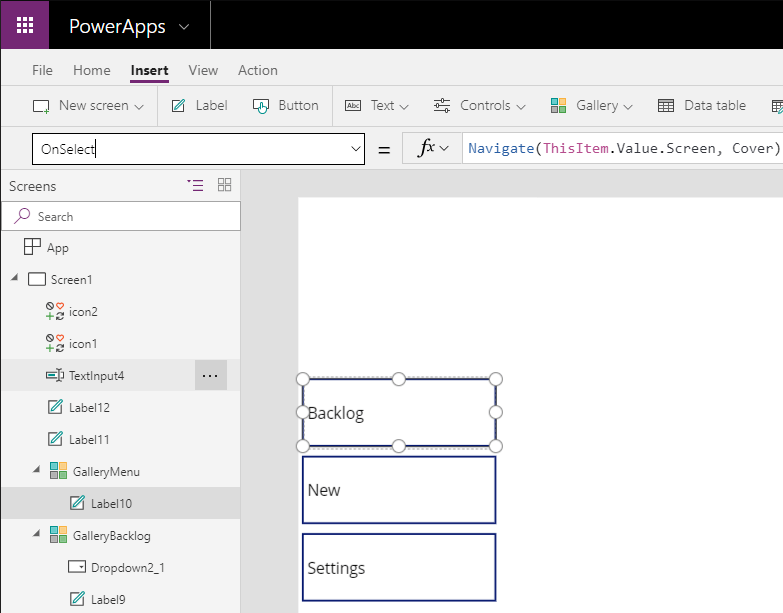
The OnSelect for each menu item is set to Navigate(ThisItem.Value.Screen, Cover)
This way the menu is easy to expand. All I would have to do is include the details in my menu gallery to include another option.
Pieter Veenstra

Is your business still running on paper trails, sprawling Excel files, or ageing Access databases? There’s a better way — and I can show you exactly what it looks like. I’m the Technical Director of Vantage 365, a Microsoft solutions consultancy working with clients across the UK, the Netherlands, and worldwide. For over 30 years I’ve been turning messy, manual business processes into clean, automated systems that save time, reduce errors, and give teams the visibility they need to make better decisions. SharePains is not just any blog run by a Microsoft MVP. Have you ever used Try-Catch in Power Automate? The original post about Try-Catch in Power Automate can still be found on this site, https://staging.sharepains.com/2018/02/07/try-catch-finally-in-power-automate-flow/ Or have you ever used the Pieter’s method to avoid variables and speed up your flows? https://staging.sharepains.com/2020/03/11/pieters-method-for-advanced-in-flows/ You can contact me using contact@staging.sharepains.com


Leave a Reply
You must be logged in to post a comment.